Showing posts with label farmhouse labels. Show all posts

Friday, May 29, 2015

Chicken Note Cards

I have a thing for chickens and I would love to have a couple of laying hens, a couple fancy hens and a rooster. Link to file.
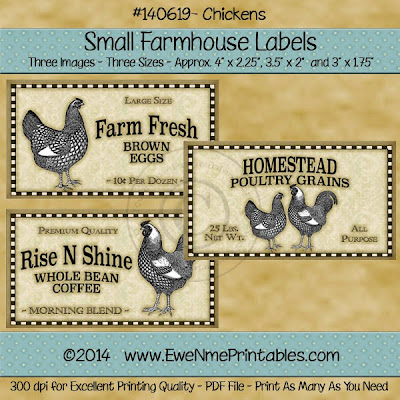
 
You get 3 each of 3 different sizes for a total of 9 labels and you can print as many as you need. I used the 3 small ones, put one on a bit lopsided so I put a middle sized label over the small one.
 
 
A while back, you know how it goes you see something interesting you think might work well for some projects then you just can't find the right project so that pack of Kraft paper with designs on it sat for 2 years. Shhhh......don't tell on me.

 
I can't believe how easy these cards were to make, out of each 8.5" x 11" sheet of paper I got 2 cards. I cut the sheets in half on the long side making the cards 5.5" tall x 4.25" wide when folded. After cutting the labels out I backed them with a piece of black cardstock.

 
I added a piece of ribbon and a couple of Queen and Co. flowers on two of them, and a button from Melissa Frances on the other one. I also added some Queen and Co. pearls. I've had those for a while too, ever since the 2012 Great Lakes Mega Meet.


Friday, December 5, 2014

Christmas Home Decor

Today I have a home décor item to share with you made using these very sweet labels: Small Farmhouse Labels

I save my used glass jars, the kind jams and pickles come in. I also save some of my empty yeast and relish bottles, this time I used a jam jar.


I stamped around the outside of the jar using the smallest star in the My Mind's Eye 12 Days of Christmas stamp set, using Blazing Red StazOn ink and let it dry. I glued 2 levels of red pompom trim to the top of the jar then filled the inside of the jar with some iridescent Easter grass (basket filler).
 
I printed the files on vellum, you get a total of 18 labels, 3 of each in 3 different sizes, 9 on a parchment background, 9 on a white background. The ink takes a long time to dry on vellum, I let mine dry overnight before handling them so that I didn't end smearing ink everywhere.
 
After the ink on the labels dried, I cut out the 3 smallest of both pages. I adhered them to some light green glitter paper, using my Xyron 3" sticker maker and cutting them out and inking my edges.
 
 
I used some kitchen skewers and glue gun and hot glued the sticks to the backs of the designs, when the glue was totally set I turned them over and added a bow to the front of each one. I broke off part of the sticks on some of them for a variety of sizes.
 
See you next time,
 
Sue Kracker


Wednesday, December 3, 2014

Printable Farmhouse Label Projects

For this project I used the:


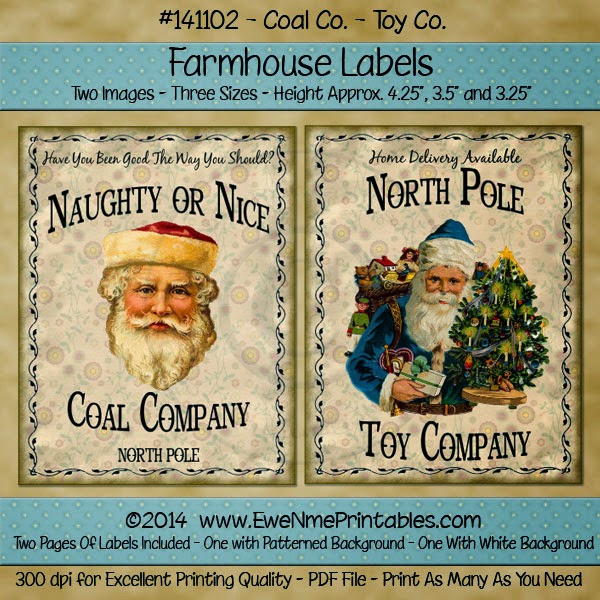
Toy Co/Coal Co
 
You get 12 total labels, two different images in 3 different sizes.


My first card is a side step card. I found a very good video on how to cut and score this card: Side Step Card on Youtube I used one of the smallest images on this card. To make my, "coal" I used some black fleece scraps I have leftover from a pair of pajamas that I made myself. I didn't make the strips uniform, coal doesn't come that way in nature. I cut 4 strips of fleece approximately 1.75" wide x 3" tall, folded them in half to form almost a square then stitch together on the bottom and sides then turn so they are right side out and stuff with fiberfill, stitch opening closed. The Christmas stocking and sentiment were cut with my Cricut.
 
Next came some tags.
 
 
After cutting out my images (I used the next size up from the side step card) I mounted them onto some green scraps I had on hand, punched a hole in the upper left corner and added the ribbon.
 
I also made 4 cards.


I cut some Christmas papers from my stash and cut the cards, the first 3 cards measure 6" high x 4 1/4" wide when folded and trimmed the corners, then I cut a layer to mount the images onto. I tied a twine around the middle on two of them, and a bow on one. The last and smaller card measures 5 1/2" high x 5" wide when folded. I also added a layer to this card and a twine bow. For these 4 cards I used the 2 biggest sizes of the images.